Test the availability of a website
Hitflow is a SAAS (Software as a Service) solution developed to make it easier to track the availability and performance of your websites and servers.
The management of your account is done from a web interface and does not require any prior installation to operate.
In the rest of this guide, we will introduce you to the basics of using your new supervision tool.
- Summary
- Access the manager
- Interfaces
- Monitor a website
- The alerts
- Do more
Access Hitflow Manager
To be able to connect to the manager, you must have previously created an account by following the following steps:
- Open your web browser and go to: https://manager.hitflow.net/inscription
- Once the page is loaded, enter your email address and password.
- Confirm the creation of the account by clicking on the button.
- You will automatically be logged into your newly created account. The discovery offer has been automatically associated with your account and allows you to discover Hitflow's features for free.
Congratulations! You are now logged into your Hitflow account and we will be able to get started!
Note: When you created your account, an email is sent to your email address to confirm registration. To take advantage of all the features of the discovery offer free of charge, you must complete the validation procedure.
Interface overview
Now that you are connected, we will introduce you to the manager's general interface.
Confirmation alert
As explained above, you must confirm your email address to take advantage of the free discovery offer. The alert banner below will automatically disappear once you have validated the confirmation link.

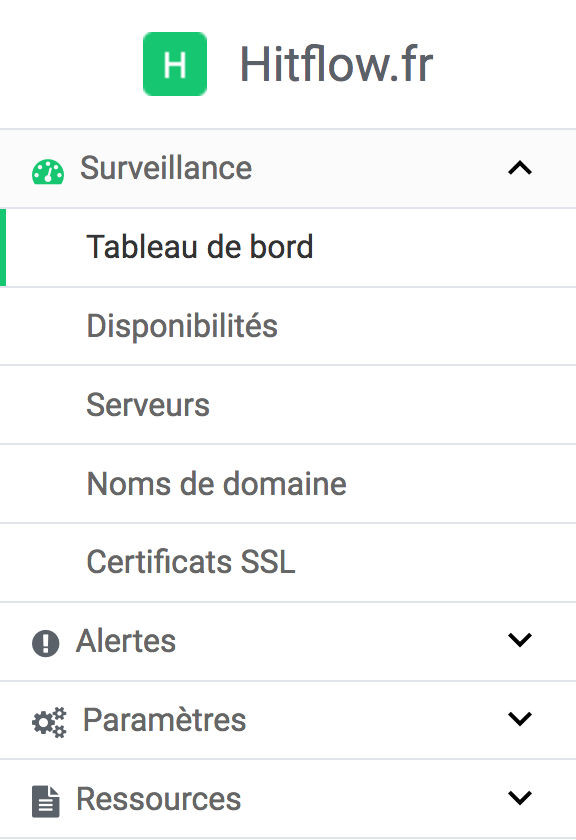
Navigation menu
The navigation menu (on the left of the page) contains all the tools allowing you from the manager to configure the services to be monitored, manage alerts, set up the account and the resources available to help you.
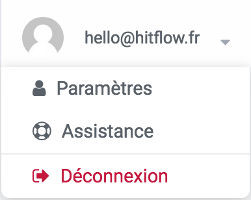
User menu
The user menu gives you access to the configuration page of your user account and the assistance interface allowing you to create tickets supported by our technical team.
Dashboard
Once you have started monitoring your sites and servers, the dashboard will allow you to have a real-time overview of availability.
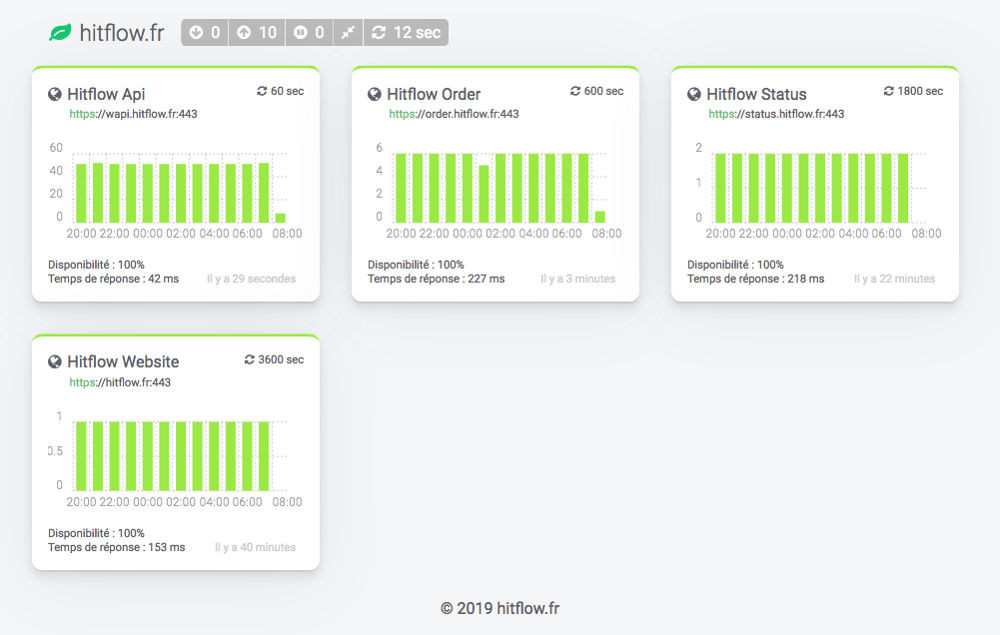
A "full screen" mode with automatic refresh of information every minute is also available.
Monitor the uptime of a website
We will explain how to add your website and then activate it so that robots can monitor it.
What is a service?
A service can be an IP address, a domain name or the URL of a website whose availability and loading times are monitored at regular intervals. Currently our robots support the following protocols:
- ICMP
Send several "Ping" to determine if the network interface of your server is available and if there is no packet loss. - TCP
Check if a TCP port is open on your server and determine the time required to open the connection. - HTTP et HTTPS
Test your website using HTTP and take advantage of the many options to customize and refine the analysis.
How to add your website?
To get started, go to the list of services from the navigation menu. In the "Monitoring" section, click on the "Availability" tab.
- To add a new service, click on the button.
-
Start filling out the main elements of the form:
- Name of the service: This name will not be visible both in your Manager and in the status pages.
- Type of service: Select the following HTTP or HTTPS type if your website is secure or not.
- Check intervals: Indicate how often our robots will have to make requests on your site.
- Domain name: Enter the domain name or IP address of your site (without adding the protocol prefix "http://" or "https://").
- Connection port: If the port of your web server is non-standard, you can change it.
- Page path: If you want to target something other than the home page of your site, enter the path to the page in this field (for example: /page.html).
- Once you have completed the above information, you can register your service by clicking on the button.
Congratulations your website has been registered! Let's move on to activation so that it can be handled by our robots.
How to enable or disable website monitoring?
To give you greater flexibility in the use of our tools, you can enable or disable monitoring of a website or server at any time.
This activation can be done:
- From the availability list by clicking on the activation () or deactivation icons ().
- From the service editing page (top of page).
- In a service report (top of page).
After clicking on the activation button (), wait a few seconds before returning to the availability list where you should see your service appear with the "Online" status.
As long as you do not disable it, your website will be controlled by our robots according to the interval you have defined.
The alerts
When your website becomes unavailable, you can receive instant alerts. To receive these notifications, we will see how to configure a contact.
What is a contact?
A contact can be a person or a group of persons with whom communication information is associated. This communication information can be emails, phone numbers for sending SMS, Telegram IDs, Slack chat channel URLs or script addresses developed by you.
How to create a contact?
To get started, go to the contact list from the navigation bar. In the "Alerts" section, click on the "Contacts" tab.
- To add a new contact, click on the button.
- Enter the name of the contact (this name is only visible in your Manager) then click on the button to fill in the email address where the alerts should be sent.
- Save the new contact by clicking on the button.
How to associate your site with this contact?
Once your new contact has been registered, you are able to associate your website so that it can receive alerts.
- In the "Alert settings" section, select the site from the list.
- Once you have selected it, click on the button.
Congratulations! The contact will now receive all alerts related to your website. Note that you can also associate contacts from the service edit form.
Do you need more features?
If the tools offered by the free offer are not enough, you can subscribe to one of our offers by going, via the navigation menu, to the "Offers" section of the "Settings" section.
To go further....
Through this guide, you have discovered the manager by following the procedure to monitor a website and receive alerts when it becomes unavailable.
You are now ready to monitor your various websites to ensure their availability!
If you manage your own server, we invite you to consult our complete guide on monitoring the performance of a hosting server.