Monitoring alerts in Microsoft Teams
Microsoft Teams is a collaborative communication application published by Microsoft.
The guide below will help you configure the integration of Microsoft Teams in Hitflow to receive alerts from the monitoring of your services in the channel of one of your teams.
In order to perform the steps described below, you must have Webhooks creation rights in the channel of the team where you want to configure Hitflow integration.
- Summary
- Presentation
- Setup
- Disabling
- Go further...
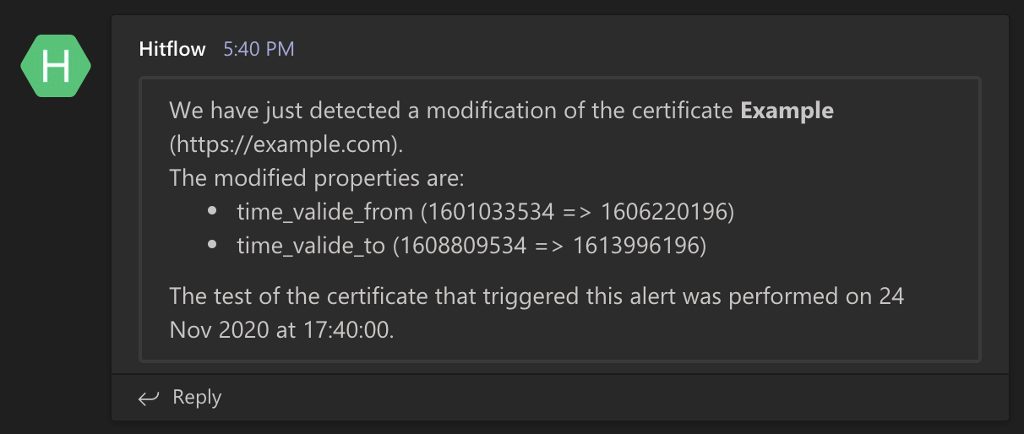
What does an alert look like in Microsoft Teams?
The connector used for sending monitoring alerts in Microsoft Teams allows to display messages identical to other types of integrations. In addition, as shown in the image below, users can reply to the messages sent, which allows for better monitoring of the processing of alerts.
Creating a Webhook in Microsoft Teams
The first step to create a Webhook must be done from the Microsoft Teams application interface.
- Start by opening the Microsoft Teams application library and look for the "Incoming Webhook" application.
- Validate the use of the Webhook application by clicking on "Add to Team".
- In the new form, select the name of the channel in which the Webhook should be used and click on the "Configure" button.
- Define a name for the Webook, for example "Hitflow".
- Download the Hitflow logo and add it as a logo in the Microsoft Teams Webhook form.
- Finalize by clicking on the "Create" button.
After a few seconds, a URL will be generated at the bottom of the form. Copy this URL as we will use it in the next step and click on the "Done" button.
Add the Webhook to your Hitflow account
After copying the URL of the Webhook created in Microsoft Teams, we will see where to add it to your Hitflow account.
- Log in to the Hitflow manager and go to the list of integration for your account (Settings > Integrations).
- Display the add form by clicking on the button at the top right of the list.
- Define a name for your integration that is visible only in your manager.
- In the "External Service" drop-down menu, choose "Microsoft Teams".
- Paste the URL generated in the previous step into the field that appeared.
- Validate the creation by clicking on the button.
After validation of the form, a new Microsoft Teams line will appear in the list of integration of your account.
Associate Microsoft Teams integration with a contact
The last step to set up monitoring alerts in your Microsoft Teams channel is to add integration in a contact.
- Display the list of account contacts from the navigation menu: alerts > contacts.
- Create or edit a new contact in which you will add the integration.
- In the contact form, click on the button.
- Using the drop-down menu, choose the "Integration" type and then, from the second drop-down menu, select the name of the desired integration.
- Finish the modification by clicking on the button.
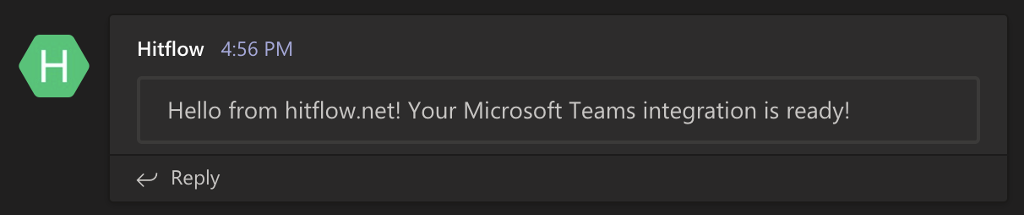
You will be able to see the success of the configuration of the different steps by going to Microsoft Teams. Indeed, a message confirming the configuration will be displayed in the channel for which you have configured the Webhook.
Disabling Microsoft Teams Alerts
To stop sending alerts to your Microsoft Teams channel, you can do one of the following:
- Temporarily disable the sending of alerts from the account integrations list (Settings > integrations).
- Remove a contact's Microsoft Teams integration from their modification form.
- Permanently remove the integration from the account list.
Go further
This guide will have explained you the different steps to set up sending monitoring alerts in a Microsoft Teams channel.
We also invite you to consult the documentation to program your own Webhook if you wish to be able to receive alerts and process them using robots developed by you.